Getting Decked
- Jim Martin
- Oct 14, 2020
- 3 min read
Updated: Dec 21, 2024
Getting the deck on a project like this is really the first exciting achievement. It's the first stage at which you can literally stand on the results of your work and admire the view.
“Deck” in this case simply refers to what will eventually become the floor of the house (as opposed to an uncovered exterior platform upon which a barbecue may sit—though eventually we will have one of those as well☺).

In order to get the deck on, we first had to finish bolting on the final joists on the flange of the trailer in line with the wheels. This is where the bottom plate of the wall will eventually sit, and an important contact point to ensure everything is securely connected together.
We clamped the outermost 2x4 in place where the eventual bottom plate would be, and used that to locate the final joist position precisely. (Note: This last joist is a 2x4 whereas all the others are 2x6. This is a little quirk inherent in the manufacture of our particular trailer. The upside being we get more insulation in the main part of the floor--which is 2x6 rather than 2x4, the downside being that it makes the final joist installation, and standing up the eventual walls a bit more complicated than other trailer designs. You can read more about our trailer choice and the ensuing saga here.)

Here's what the setup looked like in reality. There were four sections to install. This is the "driver's side" section in front of the wheels. There's a shorter section behind the wheels, and then of course two more corresponding sections on the "passenger's side".

Then there was more drilling and installing bolts to hold the final joists in place. Same "drill" so to speak. Half inch hole to countersink the head of the carriage bolt, then a 3/8" hole for the carriage bolt itself. These were much easier to install because the bolts were shorter, and we just had to reach underneath to install the washer and nut. No more crawling under the trailer! (This is the "driver's side" rear section.)
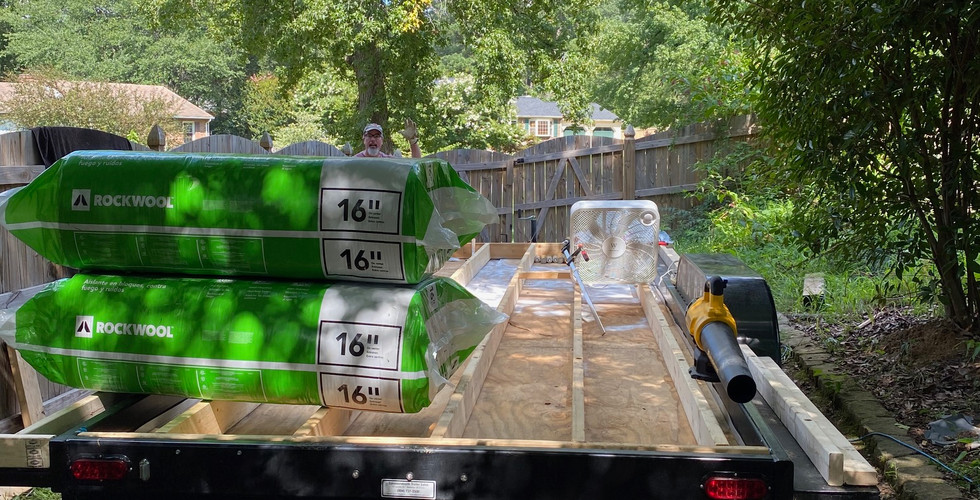
Once that was done, the real fun could begin! And things began to move quickly. The next step was insulating the floor. We chose Rockwool insulation for this part of the house. Rockwool is a spun mineral fiber made from basaltic (volcanic) rock and slag (a recycled byproduct of steel and copper manufacturing). It is moisture and fire resistant, and because it's inorganic and breathable, it offers no foothold for mold to grow. Here's what it looked as Jenna was installing the first few batts. Go Jenna!
(Notice the coffee tumblers in the top left. Key construction tools.) I wish we'd taken time lapse video of the insulation going in. It was quite fun and went quickly! You can click through the slideshow below to get a sense of it.
The final step that day was to attach the subfloor. This was huge. As I mentioned at the outset, this felt like the first real milestone in the construction process. We used 3/4" tongue and groove plywood. This gets installed with it's length perpendicular to the joists. The tongues and grooves create a super-stable joint between the sheets. We also used a bonding agent called "liquid nails" to attach the plywood to the joists.

This keeps all the bound surfaces in tight contact with each other and can help keep floors from squeaking. In normal house situations you would use 8d nails as fasteners. Here we used 2.5" decking screws to ensure the subfloor stays firmly attached to the joists--which are firmly attached to the trailer.

And here's the final triumphant photo of the day:

In the next post... walls. Oh my goodness.


Comments