The Grunt Work
- Jim Martin
- Dec 22, 2019
- 3 min read
Updated: Dec 21, 2024
Parts of the building process are just tedious and uninteresting. For me this has included leveling the trailer, and all of the work that has to be done underneath the subfloor. Some of that includes work that doesn’t even touch the tiny house at all—like staging the work area where most of the lumber and plywood will have to be cut.
I spent a weekend adding some simple improvements to our back deck. Mainly I wanted to add an extension table for my crappy old chop saw, which crappy though it is by current standards, is the power tool I have owned the longest. I’m pretty attached to it. The extension table will make it much more useful.
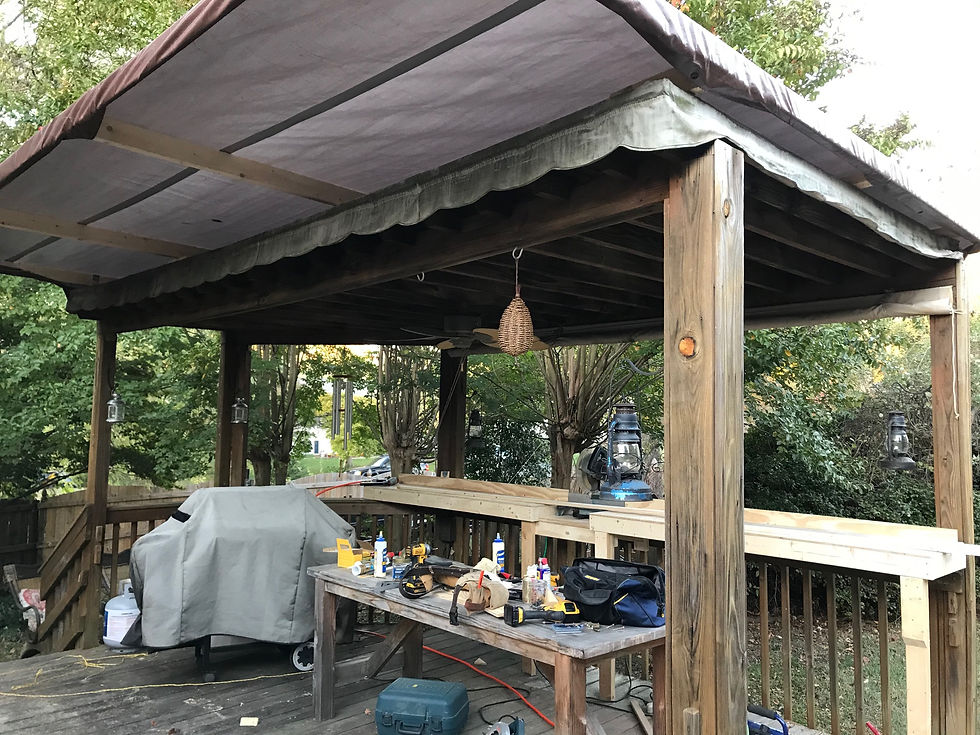
But in order to build a semi-permanent extension table, I had to fix the roof over the deck. The flat roof is covered with old canvas roofing material that’s in rough shape and leaking all over the place. The long-term plan is to extend the roof a bit further, remove the canvas and replace it with the same kind of metal roofing that will be on the tiny house. But I wasn’t ready to make that investment (of time or money) yet, so I needed a temporary solution that would keep my tools dry for the duration of the build.
Here’s the before photo.

I built the table extensions first, incorporating them into the back railing of the deck. The whole thing is constructed of 2x4 lumber with ½ inch sanded plywood for the table top. I also ripped four strips of the ½ inch ply to build the extension of the fence. I carefully snapped a line across the length of both tables to use as a reference when installing the chop saw and the two fence extension pieces. I’m pretty happy with it. It’s super easy to clamp stop blocks to the fence extensions when cutting multiple pieces to the same length. Totally worth it.


For the roof, I blew $60 on a heavy-duty poly tarp, and another $30 or so on four 14 foot 2x4s. I used long decking screws to attached the 2x4s to the back edge of the roof. I added a little pitch to the roof so the water would shed toward the back. Then I unfolded the tarp and had a heck of a time getting it up on the roof. (I decided in the end that I didn’t want to climb up on top of the roof. I’m not completely sure the structure would support my weight moving around up there.) In the end I tied some para cord to the corner grommets and flung the loos end of the cord over the roof. After some pulling and coaxing, I got it into position. Then I basically went crazy with my staple gun and secured it all the way around. It’s functional, and the work is fairly tidy.

Those two projects took about six hours and just under $200 in materials (with some plywood and 2x4’s left over for future use).
In the next post, we finally get back to working on the trailer. It needs an aluminum liner so that rodents can't make their way into the house by gnawing through the bottom! Check out my daughters and I doing that work here.


Comments