
We. Are. Dried. In!
- Jim Martin
- Oct 23, 2020
- 5 min read

Updated: Dec 21, 2024
The race to get "dried in" required three more significant steps:
Wrap the house with a vapor barrier.
Attach plywood sheathing to the roof.
Apply waterproof underlayment to the roof.
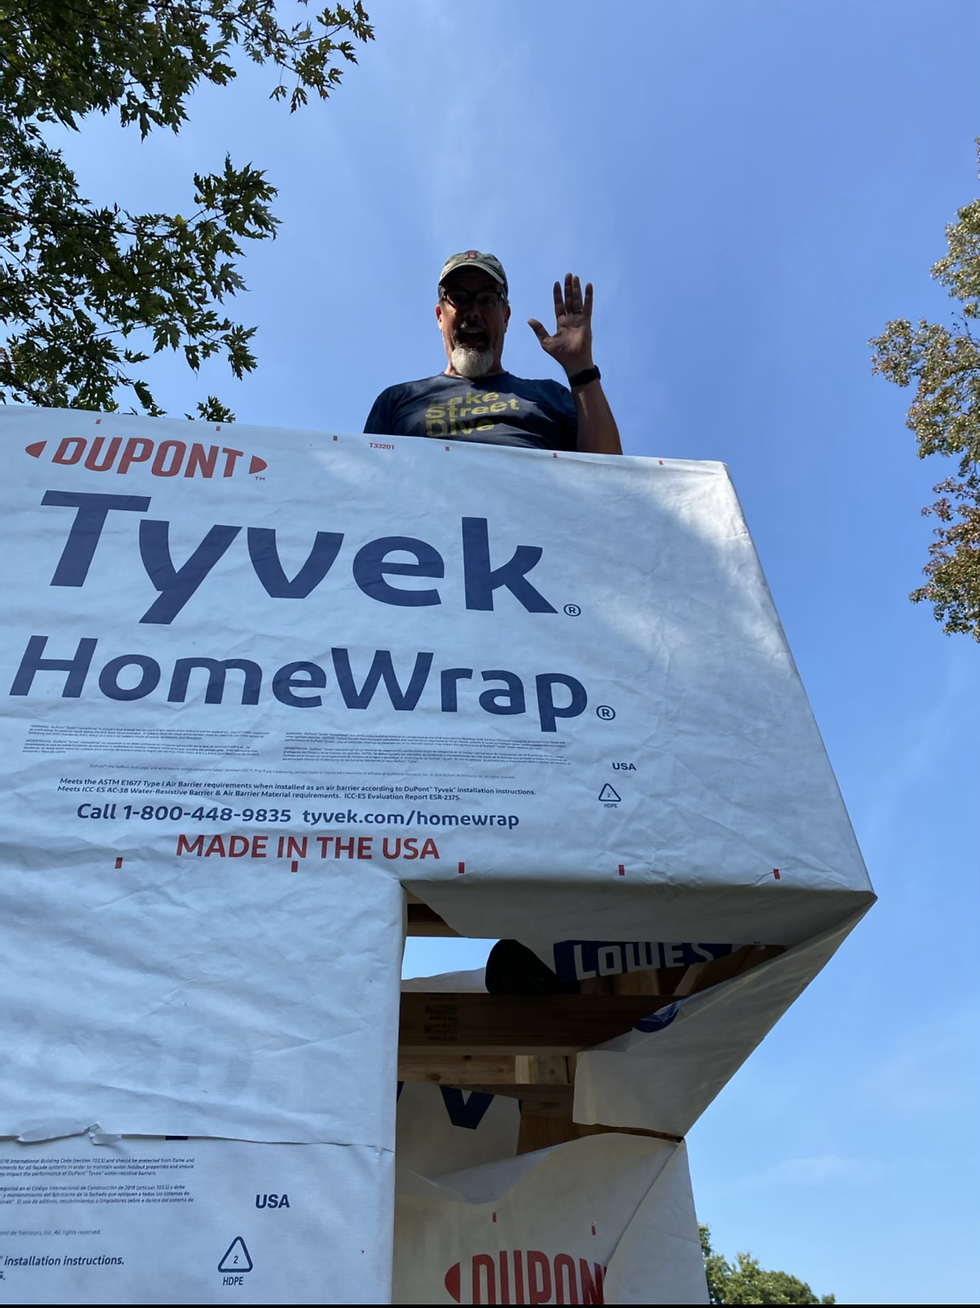
Wrapping the House: Again, I wish I had some process pictures for this, but I was working by myself and didn't stop to take any! I chose to use Tyvec Home Wrap--which comes in rolls either 3' or 9' wide. I chose the 9' roll figuring I could get most of the house wrapped in one course that way.
When installing elements that shed water (such as siding or roofing), Brian always taught me to start at the bottom (of the wall or roof) so that any upper layers overlap lower layers and naturally shed the water.

I have to say that the 9' role was a bit of a bear to manage! It's fairly heavy and ungainly. Fortunately I was saved by this guy and his genius hack using a painter's pole and a clamp as an extra set of hands for this process. (Jump to minute 3:00 to see his brief explanation.)
Starting at the bottom, I made one full wrap around the house. After that there were only the gable ends and a bit of the loft to finish covering.
The last step was to tape all the seams with the super sticky (and super pricey) Tyvek tape. I'm not going to cut the window openings until we are ready to install each window. And I'll clean up around the bottom edge where the house meets the trailer when we put on the finished siding. For now, this will keep the plywood and interior protected from the elements.

Sheathing the Roof: This was a love-hate thing for me. So exciting to finally be closing in the house. But working up high with heavy sheets of plywood is always a little stressful. I didn't have any scaffolding or platforms (yet) so it was all done with a ladder. Climb up, measure, climb down, cut, push the sheet up the ladder and on to the roof. (And here again, by the way, Brian always taught me that it's best to start from the bottom of the roof.
As I mentioned before, the rafters were just a bit out of line according to the plumb bob (which was still hanging). So I used the first sheet of roof sheathing to correct this. I tacked the sheet into that first rafter over the loft with just four or five nails along the short edge. Then I used the length of the sheet to force the rafters square by cranking it down and in line with the bottoms of the rest of the rafters. I tacked it into position and checked the plumb bob. Significantly better!
Then it was just a process of sheathing the rest of the roof with plywood. I used 2.5 inch decking screws and liquid nails construction adhesive, along with "H" clips between the seams where the first and second course of plywood met. Here's a little slideshow of that process. (Click the right arrow to move through the pictures.)


The final step was to put some waterproof roofing underlayment on the plywood. Working on roofs can be stressful, especially if you don't do it every day. At this point I chose to buy a second Werner folding ladder (a mulit-position pro). And I built a 10' platform from 2x4's that I can place between the two ladders as a makeshift scaffold. (You'll see it in the pictures below.) This was an extraordinarily helpful setup for reaching the lower edge of the roof safely.

The roofing underlayment we chose is called Grace Ice and Water Shield. It's essentially a three-foot wide self-adhesive roll of rubberized, bitumen-infused roofing material. I'd never heard of the stuff, so was really grateful for yet another helpful suggestion from Brian! It's pretty amazing to work with--especially once you get the hang of it. Jenna and I wrestled a bit with the first strip, but even so, it went down pretty smoothly. We were hoping to get the whole roof covered, but only managed to finish the kitchen side before dusk. So we threw the plastic over the lofted end and called it a day.

Then... Charlotte to the rescue!


For the final push, our daughter Charlotte came to help out. Charlotte is awesome. She works as an oncology nurse about an hour away. She happened to have a day off and was eager to help us get dried in!
We had some final work to do fixing/finishing the plywood sheathing over the loft, so we took care of that first. We replaced a couple of the narrow strips at the ridge that had been damaged by rain.
Charlotte took this photo of me while she was perched on the ridge of the roof. In it, as well as my own lithe form, you can see the "H" clips in place (right at my hip and closer in the foreground). They help stabilize the seam
between the joists where the sheets of plywood meet. I'm re-checking to ensure we have enough screws in each sheet of plywood and installing the last few that I seemed to have missed.

Here's another wonderful thing about Tiny Houses. They are so small that you can reach the entire roof by lying down over the ridge. It may not look graceful, but it's convenient!
While we were finishing the Tiny Roof, I had some flashbacks to the last house we built where the roof was a monstrous undertaking! It was a 12:12 pitch (45 degrees) and huge. We did this on purpose, of course, so we'd have a South-facing roof section that could eventually be covered with solar panels. But it came at a cost! I spent a ton of time on that roof installing plywood, roofing paper, shingles, skylights. For safety, I tied in to a climbing harness every time I went up there. And I did the dance of joy the last time I climbed down when it was finally finished!
So, by comparison, the Tiny House is just a joy to work on.
Charlotte and I got busy rolling out sheets of underlayment. The loft section of the roof has a lower slope (it's flatter) and so it's a little easier to stand/sit on as you work. We actually banged these final strips out pretty quickly!

Here's a little video Jenna filmed as we were trimming the first sheet. Notice the excellent teamwork!
Three more strips and we were done. It goes faster and faster as you get the hang of it. This stuff is really fun to work with.
What did it feel like to be done you ask? It felt amazing.


The most satisfying pictures, though, may be the ones taken on the inside of the house. It's hard to describe how great it feels once your structure has a real inside to it. But here's a short video I took the very next day. It was raining, so Bear and I went out to sit in the Tiny House for a while and have a listen.
So, here we are all dried in. If you'd like to see a little tour, check out the next post here.
If you are looking for more reading material, you can check out the earlier posts in this series here.
I'm also writing occasional other posts loosely based on my "origins" as a tinkerer, old cars and the life lessons they so generously teach, and some other side projects that may be of interest. You can find all those posts here.
Thanks for reading!


Comments